Carving Functional Kitchen Utensils — From Design to Finished Piece
Practical guide to creating spoons, forks, and serving utensils using traditional Baltic techniques
Why Carve Your Own Kitchen Utensils?
There's something special about using a spoon you carved yourself. It's not just a tool — it's a connection to generations of Baltic craftspeople who shaped wood with their hands. When you carve functional utensils, you're learning the same techniques that've been passed down for centuries.
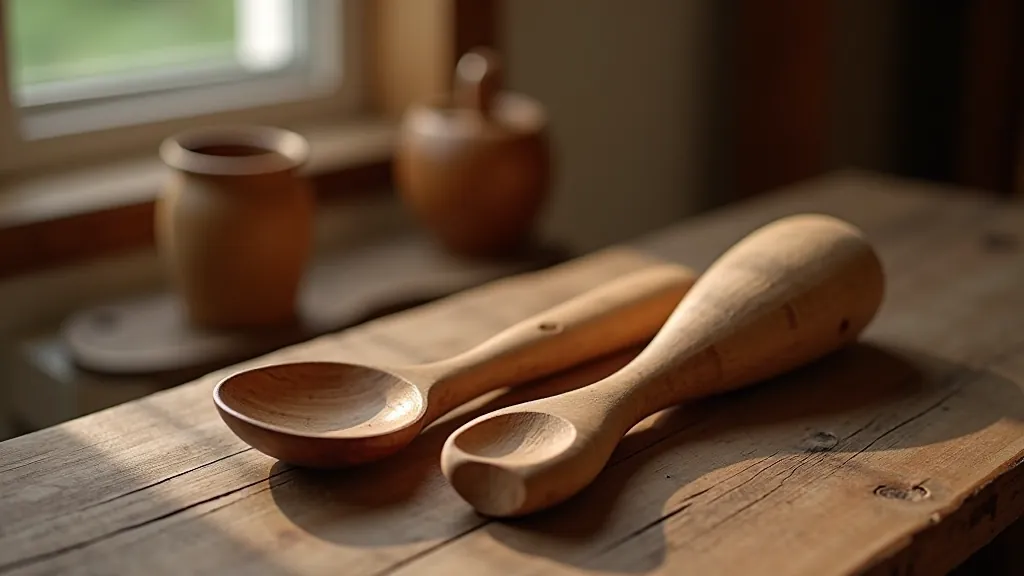
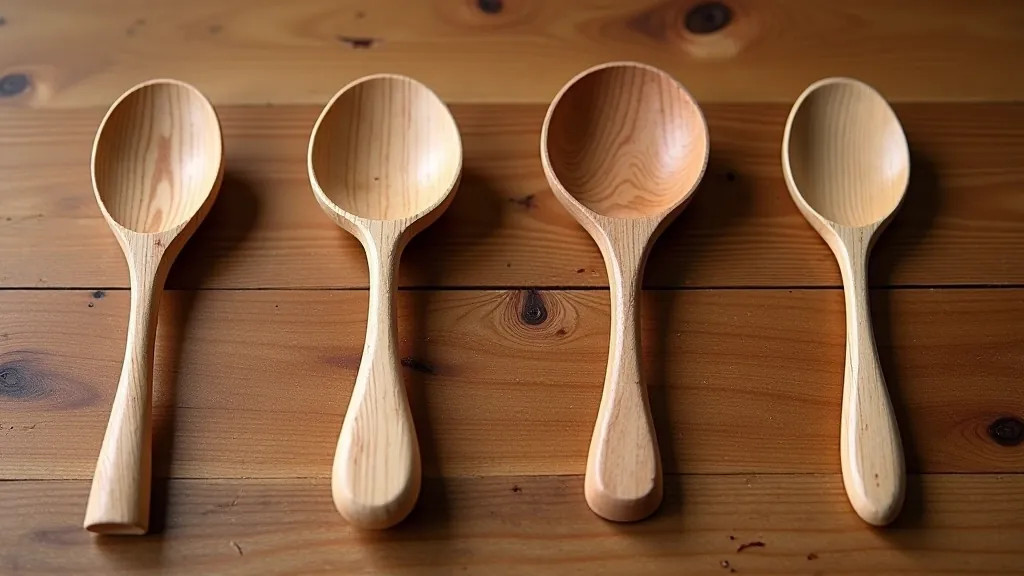
The beauty of kitchen utensils is that they're forgiving projects. You're not aiming for perfect symmetry or intricate patterns. You're creating something useful, something real that sits in your hand naturally. Spoons are ideal for beginners because the basic shape is straightforward — a handle, a bowl, smooth transitions. Once you understand those fundamentals, you'll feel confident moving forward.
Essential Tools and Materials
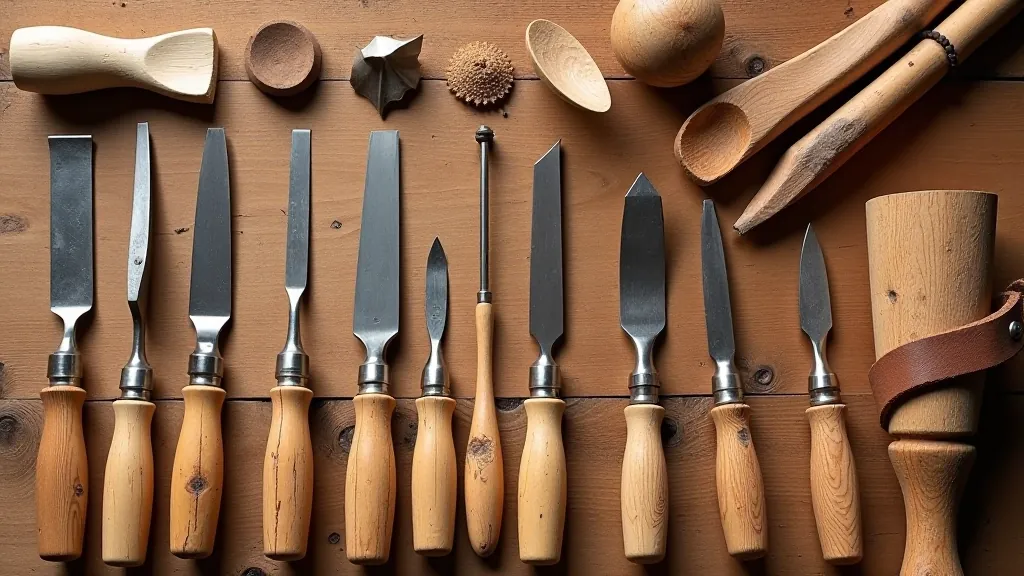
You don't need a massive toolkit to start. In fact, overcomplicating it is a common mistake. We've seen people invest in 30 chisels when they really only need 5 good ones.
Roughing Gouge (25-30mm)
Your workhorse. This wide, deeply curved tool removes wood quickly. You'll use it for 60% of the carving process. Brands like Flexcut or Two Cherries work well without breaking the budget.
Detail Gouges (6-12mm)
For refining edges and creating the bowl shape. You'll want 2-3 different curves here. The smaller sizes let you control the transition from handle to bowl precisely.
Flat Chisel (15-20mm)
For finishing and smoothing surfaces. It's less aggressive than gouges, which means better control in the final stages. Essential for that satisfying polished look.
Sharpening Equipment
A leather strop and stropping compound are mandatory. Dull tools are dangerous tools — they'll slip and gouge where you don't want them. Sharpen every 30 minutes of active carving.
Important Safety Note
Wood carving involves sharp tools and requires proper technique. This guide provides educational information about traditional methods. Always prioritize personal safety — wear proper eye protection, work in good lighting, and never rush. If you're new to carving, consider working with an experienced craftsperson or taking an introductory workshop. Sharp tools, correct hand placement, and respect for the materials are non-negotiable fundamentals.
The Carving Process — Step by Step
1
Select Your Wood Blank
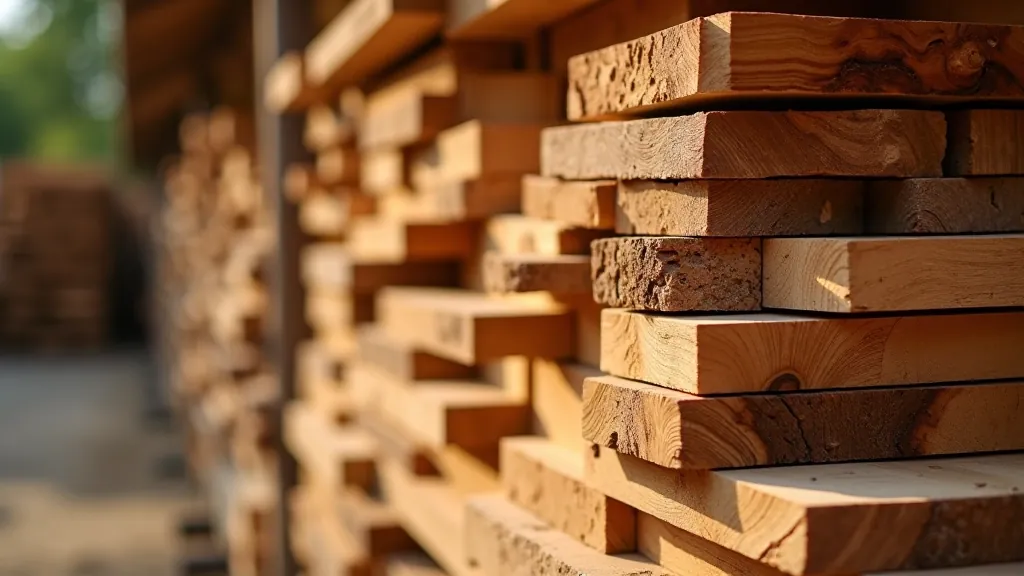
Start with a pre-cut spoon blank (3-4 inches long) if you're beginning. Baltic birch is forgiving — it's dense enough to hold detail but soft enough to carve without excessive force. Avoid pine for utensils (too soft, splinters easily) and don't use treated wood (toxic when it touches food).
2
Rough Out the Bowl
Use your 25mm roughing gouge with firm, controlled strokes. Work from the center outward, removing material in the direction of the grain. You're aiming for a shallow bowl shape — don't go deep yet. This stage typically takes 15-20 minutes for your first spoon.
3
Refine the Edges
Switch to your detail gouges. Create smooth transitions where the bowl meets the handle. The rim should be slightly rounded, never sharp. This is where the spoon becomes comfortable in your hand. Test the fit frequently — if it feels awkward, you'll know immediately.
4
Smooth and Finish
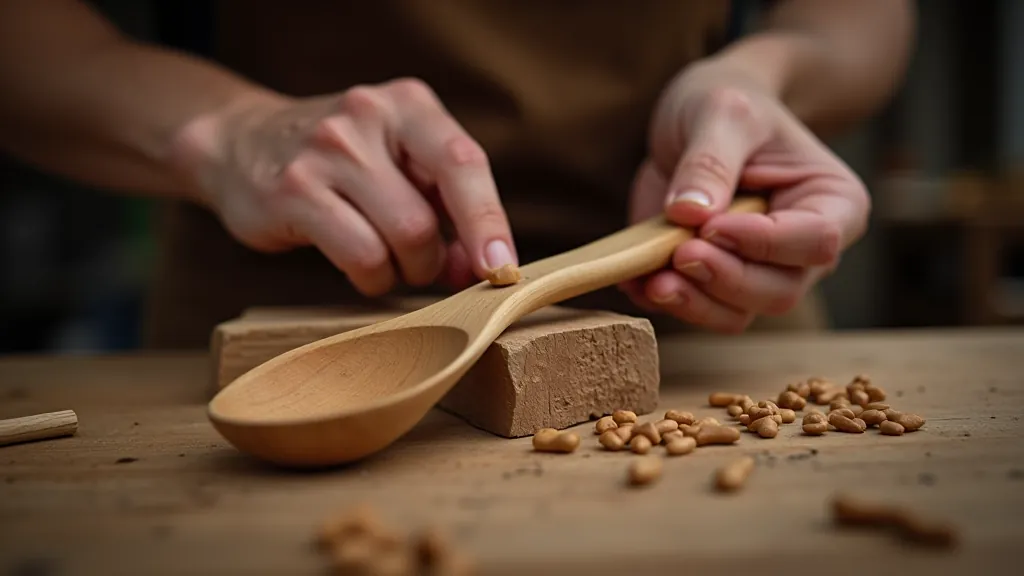
Use your flat chisel for final smoothing. Work with the grain — you'll feel it. Once the carving is complete, sand lightly with 220-grit paper. For food-contact surfaces, finish with food-safe mineral oil or beeswax. Don't use varnish or polyurethane on spoons.
Design Considerations for Functional Utensils
Function comes before decoration. A beautiful spoon that's uncomfortable to use isn't successful. Keep these principles in mind:
The bowl depth matters — it's typically 8-12mm deep for eating spoons, deeper for serving spoons. Too shallow and you can't scoop properly. Too deep and it becomes awkward. The handle should taper gradually from thick (where it meets the bowl) to thinner at the grip point. Most people hold a spoon about 2-3 inches from the bowl, so that's where comfort matters most.
Weight distribution affects how the utensil feels. A slightly heavier bowl (thicker wood) with a thinner handle creates balance. When you hold it horizontally, the spoon should feel neutral — not tipping toward the bowl or the handle. Traditional Baltic spoons often have subtle curves along the handle that guide your fingers naturally into the right grip position. You don't carve these deliberately — they emerge as you shape the handle to be functional.
Pro tip: After carving your first 3-4 spoons, you'll develop an intuitive sense of proportions. Don't overthink it. Wood forgives minor mistakes, and functional design is more about feel than perfect measurements.
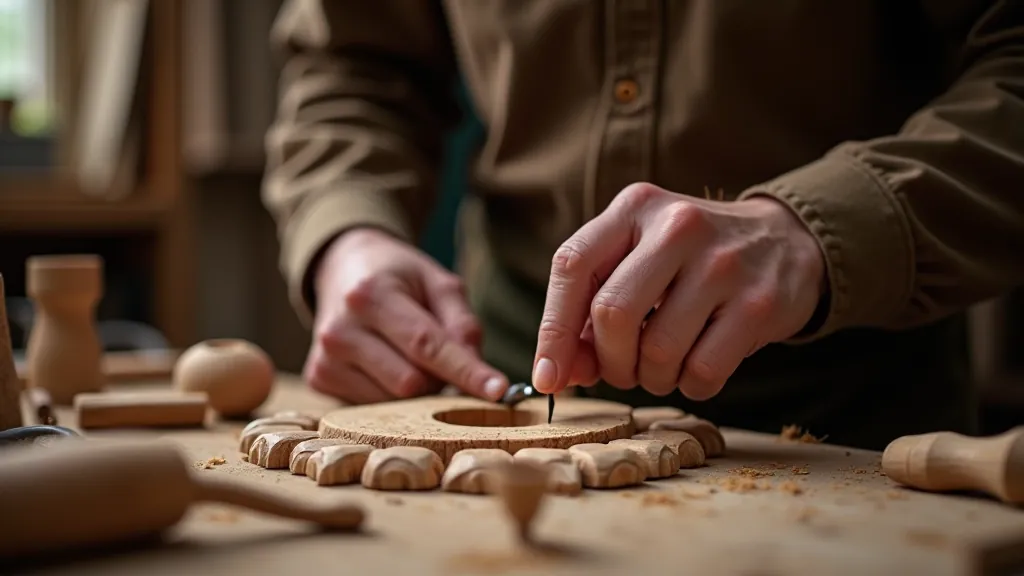
Building Your Carving Skills
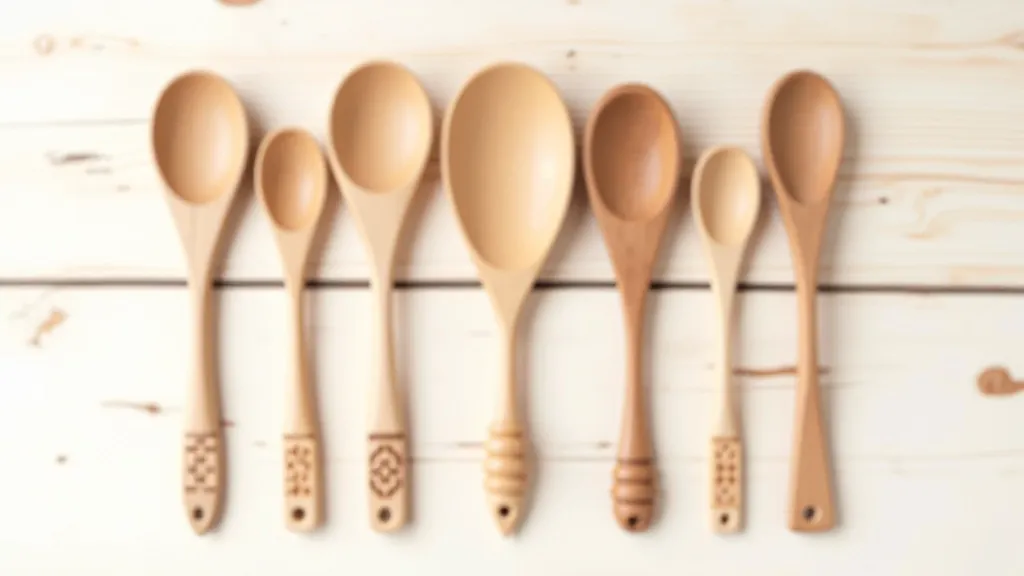
Your first spoon will take 2-3 hours. Your fifth will take 45 minutes. By your twentieth, you'll be doing them almost without thinking. The progression is real, and it's one of the best parts of the craft.
What changes isn't just speed — it's confidence. You'll start understanding how wood behaves, how different grains respond to your tools, where you can push harder and where you need to be gentle. That intuition comes from repetition. There's no shortcut, but the good news is that every spoon you carve is actually useful. You're not making practice pieces that end up in a drawer. You're building a collection of utensils you'll use for years.
Keep your carved spoons. They're a visual record of your progress. The first one might be rough, but it's also proof that you learned something genuinely useful with your hands.
Start Carving Today
Carving kitchen utensils is accessible, rewarding, and grounded in centuries of Baltic tradition. You don't need expensive equipment, specialized training, or a perfect workshop. You need sharp tools, decent wood, good lighting, and patience. Start with a single spoon. Take your time. Feel the wood respond to your tools. When you're finished, you'll have created something genuinely useful with your own hands — and you'll be eager to carve the next one.
Ready to explore more traditional wood carving techniques?
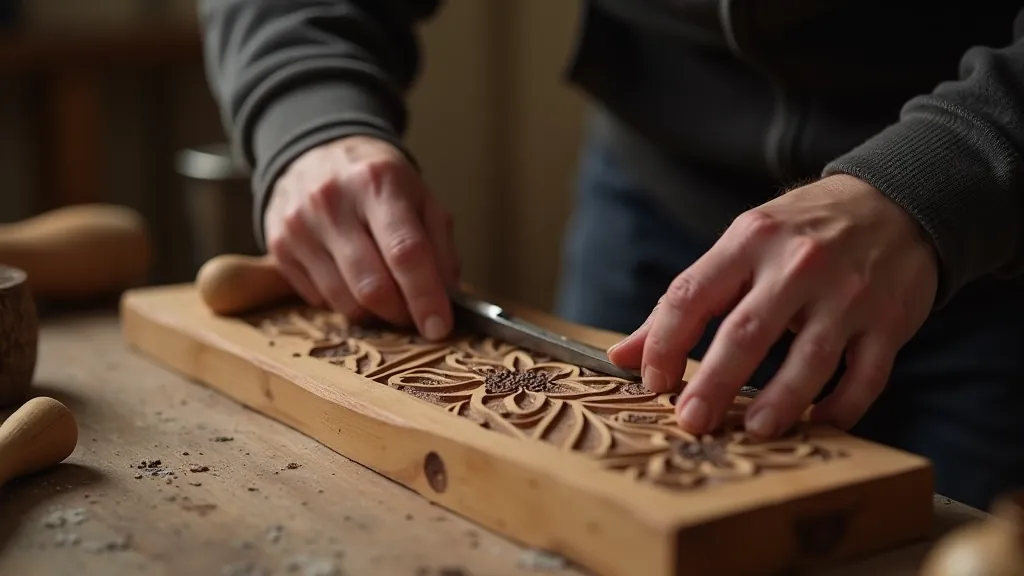
Explore Ornamental Patterns Guide